Epiphone SG Switch Replacement

This Epiphone SG guitar required some much needed TLC in order to make the electronics work as designed.

A third-party selector switch had been installed in such a way that the pickups only worked independently of each other. This meant that the middle position did not work at all, so the choppy, funky, scooped sounds synonymous with this combination was inaccessible.

A replacement switch was purchased, and soldered back into the correct configuration – the previous switch direction was connecting the opposite pickup to the one described on the switch surround. Needless to say I corrected this as well.

The fretboard, frets and body received a thorough clean and polish, leaving the guitar looking and feeling much like it would have done in the shop, making this a very satisfying job to do!
Epiphone SG

Epiphone SG Switch Replacement

This Epiphone SG guitar required some much needed TLC in order to make the electronics work as designed.

A third-party selector switch had been installed in such a way that the pickups only worked independently of each other. This meant that the middle position did not work at all, so the choppy, funky, scooped sounds synonymous with this combination was inaccessible.

A replacement switch was purchased, and soldered back into the correct configuration – the previous switch direction was connecting the opposite pickup to the one described on the switch surround. Needless to say I corrected this as well.

The fretboard, frets and body received a thorough clean and polish, leaving the guitar looking and feeling much like it would have done in the shop, making this a very satisfying job to do!

Parker Fly Nut Work

This Parker fly is a real beauty. A problem with it however, was that the nut slot for the G string was a bit tight. This resulted in an accurate tuning stability when using the tremolo system, and when returning to pitch after use, the string would be sharp, leaving an undesirable sound. 
In order to remedy this, I widened the slot slightly so that the string could pass freely after lubrication. I then attended all of the other slots in the same way as well, and then the guitar began to behave in the intended way. 

This is a stunning instrument and a really interesting axe to work on! 


post

PRS SE Hollowbody Fret Stone and ‘Sitar-esque’ Sound

This was an interesting repair to do. Not only was the fretboard in serious need of a fret stone/re-crown and set-up, but the instrument was also creating a sitar-type buzzing sound which was less than pleasant! 

The fret stone was straight forward, taking out some fairly serious pits, then re-profiling and polishing to a crowned, smooth surface. 

The next job was to fix the buzz. Typically, these sorts of sounds are generated by problems with either the nut or the bridge, and can be narrowed down by process of elimination. 
The sitar sound was continuing to be created when any note was fretted, however it was eradicated when picking between a fretted note and the nut. Therefore, the bridge was the problem. 

This was a pretty simple job to ultimately fix, and the guitar is back on the road and ready for action! 


Amp Servicing Course

Today was a very interesting day – I went on an amp servicing course which was thoroughly revelatory! I highly recommend it to all guitarists and bass players as it can really help you appreciate how to maintain and sustain your kit. 

The only slight downside is that an amp I took which I thought was fine and dandy turned out to have a fairly critical problem… It seems a trip to the music shop is in order…!


Assorted Jobs – Ibanez Switch Replacment, Overwater Setup, Tangelwood Fret Stone

It’s been another busy week here at Aylesbury Guitar Repair, with an interesting mixture of jobs required to be done.

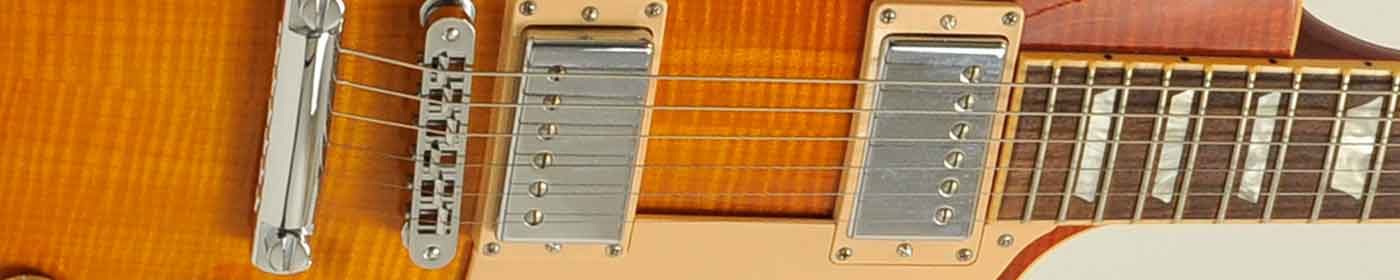
The first was a rather sorry, 30yr old Tangelwood acoustic, whose frets were in appalling condition littered with dents from strings, bizarre diagonal ‘grazing’ and one or two frets with flattened edges under the high E string. Furthermore, the bridge saddle was so low that the guitar was more or less completely choking out around the 5th fret up, and as such was more or less unplayable!

The owner just wanted a basic setup, so the guitar could be played along the length of the neck – not the most demanding of requests on the face of it, although the work to get it there was fairly substantial!

I started by levelling the neck and fret-stoning and re-crowning the frets, then polished to a high shine.

Next, I set about cutting a new bridge saddle from a bone blank, only this one was about an extra third deeper than the original to get sufficient clearance, but with a friendly action to aid playing.

Once the new strings were added I checked the string spacing, action, the intonation, and once satisfied I polished the guitar to finish the job.

This is a completely different guitar from when it arrived, and was very fun to do. Delivering a like-new instrument is always a buzz for me, and I know there will be many hours of enjoyment as a result of the work that was carried out here.

The next guitar was an Ibanez whose pickup selector switch was malfunctioning – there was a spot between positions 1 & 2 where the guitar cut-out completely, and would often get stuck there mid-performance. This was clearly unideal, so a replacement was required.

The switching for this guitar is quite complex, utilising an OTAX VLX91 switch that has double the number of contacts available to create many interesting pickup combinations when using 4-conductor cable.

A a H-H equipped guitar, the sonic options for this guitar are very varied with the following…

1. Neck wired series
2. Neck wired parallel
3. Neck and bridge together
4. Inner coils
5. Bridge wired series

With this you can get some lovely warm tones, powerful ones (courtesy of the DiMarzio Evolution pickups) and single coil out-of-phase-type scooped ones.

The wiring was a little bit tricky in places – quite precise and fiddly – but the job was done first time and the owner is super happy with a more taut switch, minus the unwanted killswitch bonus!

Another job that took place today was a setup on an incredible Overwater bass. This is a custom-made instrument that needed thicker strings to accommodate the new owner’s preferences in feel. The action needed to go too, and this was helped by the increased gauge, and then the intonation needed some adjustment.

I typically find that 5-string basses are quite challenging to get perfect on the Low B, but the Hipshot bridge on this bass was fantastic and settled really well! Highly recommended.

What was interesting on this instrument was that the fretboard was so flat – there was minimal radius in the fretboard, but it was wonderfully playable!! An all-round beautiful instrument!

Ibanez RG3120, Assorted Basses and the Martin

So the Martin got finished beautifully – the action was so good that any electric guitar would be proud to bear it, and it really plays effortlessly.

I’ve since received some school basses that have a myriad of different issues, including missing jack sockets, missing pickguards and exposed wiring, and intonation issues. They need some serious love but I’m sure the results will make them a real joy to play in the end!


(null)

Next, this Ibanez walked in. It needed a fret stone, re-crown, setup and also needs it’s switch replacing as there’s a spot on it where the signal cuts out completely!

I started with the fret stone and re-crown so that I could batch some soldering together once I get the go-ahead on the basses.

The pits that were present in the frets came out really easily, and they polished up beautifully after lots of elbow grease! Once that was all done I set about lowering the action (came down by a 3rd so is now mega-low!) and now it’s so easy to play. Unreal, and so exciting! It’s a new guitar. One tweak of the intonation on the high E string and it was good to go!


(null)

(null)

Musicman Stingray and Martin Acoustic

Today is an exciting day at Aylesbury Guitar Repair.


(null)

This magnificent Musicman Stingray 5-string bass has wandered in and needed a little bit of attention.

This instruments are fantastic – great build quality and their technical appointments are top notch, too. Real player’s instruments!

This one needed the fretboard to be cleaned, new strings fitted and intonation sorted out, so that’s what I did! It’s come out beautifully!

Next on the list is this Martin acoustic.


(null)

This is another very special instrument – sounds incredible plugged in and plays nicely. The action needs to come down on this, and that will take place once I’ve fret-stoned and re-crowned the frets as there’s a bit of wear on them. I can’t wait to see how this one comes up!

post

Fenix Strat and Yamaha RGX

Yamaha RGX

This fella needed some real TLC. It arrived to me with a couple of strings on it, (which were totally corroded) and the wiring was problematic – no signal coming out of it.

The body was covered in dust, and the fretboard was caked in gunk… Nice! Strangely this is a job I quite like doing because the reward is a fresh, brand new-looking fingerboard that it’s owner hasn’t seen on this guitar for quite some time!

After a complete clean up, tightening of nuts and simple wiring fixes, the guitar was ready for a regular setup and now she plays like a dream!

IMG_7228.JPG

Fenix Strat

This Fenix Strat was an interesting guitar indeed. Made by Young Chang in the 80’s, it has a great weight, feel and finish.

I was originally asked overhaul the electrics on the guitar, however upon inspection they proved to be in a good state of repair so my attention turned to the condition of the frets.

On the top fret there were a couple of dents from where there had been an impact with the strings, and some wear near the nut from general playing. To remedy these I applied a fret stone and re-crown, polished them up and then she was good as gold!

I had to give the high E string but slot a bit of attention as it was fizzing, but once this was fixed, intonation and action set, it was time to plug in and do the final checks. Lovely!


IMG_7190.JPG

IMG_7189.JPG

IMG_7191.JPG

IMG_7196.JPG

IMG_7192.JPG

IMG_7202.JPG

IMG_7187.JPG

Crafter Acoustic Setup

This little baby is amazing! It arrived with a reasonable action but it had room to come down and that’s exactly what I did.

The truss rod had room to be tightened to encourage the neck to straighten, and this helped me keep the action down across the length of the neck.

I took about 1.5mm off the base of the bridge saddle, sanded it smooth, replaced it and then checked the resulting action.

It came out wonderfully, measuring 1.5mm at the 12th fret. There’s no buzz whatsoever and it almost plays itself!


IMG_7197.JPG
IMG_7201.JPG