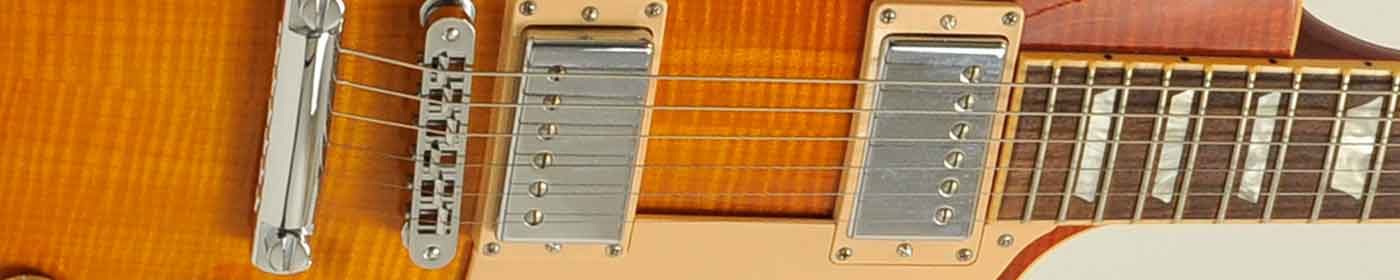
post

Fenix Strat and Yamaha RGX

Yamaha RGX

This fella needed some real TLC. It arrived to me with a couple of strings on it, (which were totally corroded) and the wiring was problematic – no signal coming out of it.

The body was covered in dust, and the fretboard was caked in gunk… Nice! Strangely this is a job I quite like doing because the reward is a fresh, brand new-looking fingerboard that it’s owner hasn’t seen on this guitar for quite some time!

After a complete clean up, tightening of nuts and simple wiring fixes, the guitar was ready for a regular setup and now she plays like a dream!

IMG_7228.JPG

Fenix Strat

This Fenix Strat was an interesting guitar indeed. Made by Young Chang in the 80’s, it has a great weight, feel and finish.

I was originally asked overhaul the electrics on the guitar, however upon inspection they proved to be in a good state of repair so my attention turned to the condition of the frets.

On the top fret there were a couple of dents from where there had been an impact with the strings, and some wear near the nut from general playing. To remedy these I applied a fret stone and re-crown, polished them up and then she was good as gold!

I had to give the high E string but slot a bit of attention as it was fizzing, but once this was fixed, intonation and action set, it was time to plug in and do the final checks. Lovely!


IMG_7190.JPG

IMG_7189.JPG

IMG_7191.JPG

IMG_7196.JPG

IMG_7192.JPG

IMG_7202.JPG

IMG_7187.JPG

Fender USA Deluxe Jazz Bass

This was a lovely instrument to start the day with! She just needed a little attention to bring the action down a touch to make her easier to play.

The truss was already pretty taut, so straightening the neck further was tricky and I was naturally reluctant to push my luck!

Despite still having a some curvature (probably the right amount to be fair!) I set about lowering the bridge saddles.

Overall everything was able to come down by about a third, meaning there should be a marked difference in the feel of the bass when the player gets it back. I’m excited to see what they think!

Once the intonation was done, she got a good polishing and then back into the case to await collection. Done, done, onto the next one!


IMG_7184.JPG

IMG_7186.JPG

Reverse V Gauge Change, Jazz Bass and Tele Set-Ups

Have you ever seen one of these before? This is a Gibson Reverse V guitar, which was released in very limited number in 2008, and the owner wanted the strings changed up from 10’s to 11’s.

IMG_7173.JPG
It was an interesting guitar to work on, although a little unwieldy as it pivoted on the bridge end of the body. Great instrument, though!

Once that was done it was onto setting up a Fender P Bass – nice and straight forward, and cleaned up really nicely – and a Telecaster. Both of these were left-handed instruments.

The Tele ended up needing an extra bit of attention since the high E and B strings were ‘fizzing’ in the nut, but after a little attention and fettling they were good as gold again! What will come through the door next?

IMG_7174.JPG

Freshman Acoustic and Aria Electric Setups

Well today has been an interesting day of setter-up-ering!

The Freshman acoustic already had a very low action – almost too low – so alongside cleaning the fretboard of all of the gunky deposits, I raised the treble side of the bridge in order to relieve the buzzing on the neck a fraction.

IMG_7154.JPG
The truss rod was pretty seized from a setup, so the neck had to stay as straight as it was, but this didn’t prove too problematic, and the guitar plays great – especially for an acoustic!

IMG_7155.JPG

The Aria guitar was a very different problem, as the jack plate needed bending into shape – for some reason it was very flat in it’s profile from new – so I needed to flex the guns!

First I need to de-solder the Jack socket, and saw through the threaded section of the socket because the nut holding the Jack plate in place wouldn’t come off! Quite extreme measures, but it needed doing.

Once that was done it was a simple job to bend the plate to match the curvature of the body of the guitar, a re-solder of a replacement chassis, then a straightforward set-up from there. This was a really lovely guitar to work on, and the action is much slicker now!

IMG_7157.JPG

Yamaha Pacifica Set-up

So yesterday a lovely chap dropped over his Yamaha Pacifica 112 guitar which was in need of a setup. In its lifetime it had been strong with 9’s, 8’s, and mostly recently 10’s, leading to a raised tremolo bridge and high action. The bridge saddles were set flat, so they needed attention too.

The client simply wanted the guitar set for the 10’s, with minimal buzz – at a height whereby his fingers didn’t rise on top of his fingers.

In order to achieve this, I fitted an extra spring to the tremolo, which brought the bridge flat to the body (another request of the client), and then set about getting the action just so.

I set it to factory settings (1.9mm and 2.4mm at the top fret respectively for each E string), and this was to the customer’s liking.

After intonating the guitar and a quick polish, this guitar spent a little over 36hrs in my possession all told, and it was great to be able to get it back into the customer’s hands before Christmas!


IMG_7084.JPG
IMG_7083.JPG

Gibson Les Paul Standard – Fret Stone and Electrics Troubleshoot

There seems to be lots of lovely Gibson Les Pauls around here! This particular one is a left hander, in ebony, and the condition was such that it needed quite a deal of love and tidying up.

The fret wire came to me severely pitted, and it looked like it would be borderline whether this would be a re-fret or whether a simple fret stone/re-crown would suffice.

Having seen how little fret height you can get away with on a Les Paul, I went ahead with the fret stone option, and it came out really well. There’s a lot more life yet in these frets, and after some careful work, this guitar was back to playable!

The action was so low when it arrived, that the strings were completely choking on the upper frets, however that has been rectified and there is a consistent feel along the length of the neck.

One other problem that needed fixing was a faulty tone control. Upon inspection this turned out to be a broken leg from the capacitor joining the bridge volume pot to the tone pot. It was an easy job to switch it out, and now the LP has its full compliment of controls working again!

A final clean and polish finished this baby off, and she was gratefully received!


IMG_7030.JPG
IMG_7033.JPG
IMG_7034.JPG
IMG_7042.JPG
IMG_7043.JPG

Ibanez Set-up

Just a quick post about an ibanez guitar in need of some love!

The nut was sitting white high on top of a couple of brass shims, and upon removal the action over the lower frets was much better.

I was also able to tweak the truss rod to allow a little more bow in the neck, then take the bridge down by a fraction, and now she’s playing super-slick! Oooh yeah!


IMG_7004.JPG
IMG_7002.JPG

post

Gibson Les Paul Nut Slots

A recent guitar I did some work on was a lovely Gibson Les Paul that needed a little attention to the nut slots. The nut had been replaced elsewhere and the new slots were sitting a bit high, meaning fretting at the lower frets was slightly harder work than in other areas of the guitar. Tuning stability would be challenged as well, had they remained.

So, I was able to maintain the action of the guitar as well as cut the slots a fraction deeper to remedy the aforementioned problems. This can be a tricky job to do as you don’t really want to make any errors! Cutting too deep won’t do, so I was checking each time I used my file to take a little more out. Also, it was necessary to pay attention to the angle behind the nut which, if too shallow, would possibly make the string ‘fizz’, giving an undesirable sound and compromising sustain and overall enjoyment of the instrument.

This particular guitar was really special. It has been played a great deal and bears the marks you’d expect – worn finish under the forearm, just under the bridge pickup, and a healthy dose of buckle rash. But what this guitar lacks in ‘mintness’ it makes up for in swathes with charisma and character. It resonated beautifully, and was so easy to play, it was fantastic. A real pleasure to work on it.

So it seems so far so good with the nut slots and depth, and the client seems happy with the adjusted intonation, too.

Since this one, a couple of similar jobs have come in, and it’s exciting to see the variety of instruments that are around! I look forward to updating you all soon!

IMG_6653.JPG
IMG_6654.JPG

post

Gibson SG Pickup Removal

A customer has brought me their trusty Gibson SG standard to remove the pickups in readiness for some replacements that they’re sourcing.

The pickups to come out of the guitar are Gibson’s own Classic ’57’s, and these ones in particular were originally in a Custom Shop Historic Les Paul, hence the ageing on them.

These are beautiful-sounding pickups, rich in warmth and pristine clarity. They sound fabulous. I can’t wait to see what goes in in their place! Stay tuned! IMG_6448.JPG

IMG_6449.JPG

IMG_6443.JPG